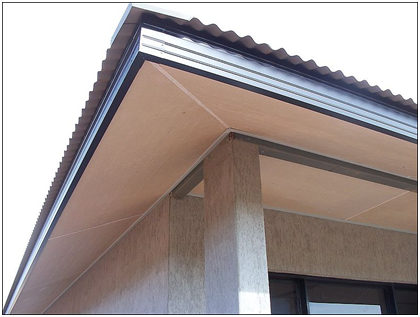
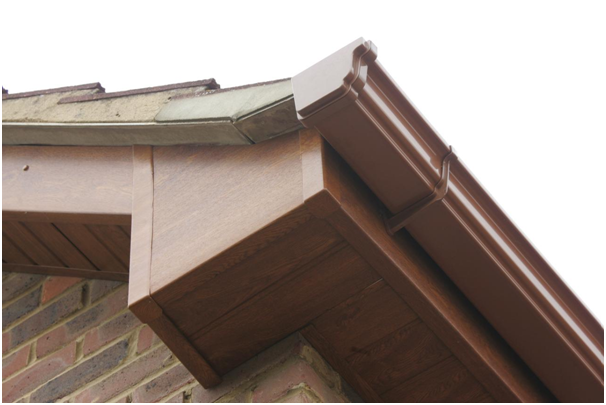
Ensuring the exterior of your home is completely protected against the outside elements is as crucial as looking after the interior of your home.

Fascia boards and soffits are not the most exciting features of the home, but they play a vital role in defending your home from damage.
By installing our own replacement fascia boards and soffits, we can save around £160 per day on a roofer.
Here is a guide to how to install fascia boards and soffits in eight easy steps.
Step 1
Firstly, remove the current gutters and push back the first line of roof tiles.
Step 2
Then completely remove the soffits and fascia boards and trim away any damaged felt.
Step 3
Now it is time to check the appearance of the rafter feet. If they are damaged, make the repairs necessary to restore them and make them fit for purpose. Once you are satisfied, fix the soffit board closely against the brickwork, which ensures a sturdy edge and clean finish to where the brickwork meets the soffit.

Step 4
Once the soffits are fixed, the fascia boards can then be installed. For UPVC fascia and soffits, contact a company such as https://www.absolutebuildingplastics.co.uk/upvc-fascia-boards/.
The fascia boards are fixed using 65mm stainless steel ring shank nails, which prevent rust marks appearing on the fascia boards in the coming months and years. A double fix in can be used on every rafter to provide the ultimate fix. For ventilation choose an ‘over-fascia’ vent or a ventilated soffit board.
Step 5
Now the soffits and fascia boards are complete, the rainwater system can be installed. There are a variety of colours and styles available to suit every home. The guttering should be fixed with a slight fall which allows rainwater to drain away.
Step 6
Once the rainwater system is completed, the Eaves Protector can be installed. This provides a durable replacement for the perished old felt removed in step two. The Eaves Protector will not perish or deteriorate like felt, allows space for the roof to breathe and contains flexible combs which act as a guard to keep rodents, birds and other undesirable pests out.
Step 7
The installation is now complete. Return the roof tiles back to their prior position.
