Many people don’t realize that an easy thing to do around the house can save them a whole lot of time and money! One fix that’s relatively simple is replacing a drain pipe under a bathtub. This blog post offers some good tips to make your job easier, and even helps you figure out when you need to call in professionals.
What is a drain pipe under the bathtub?
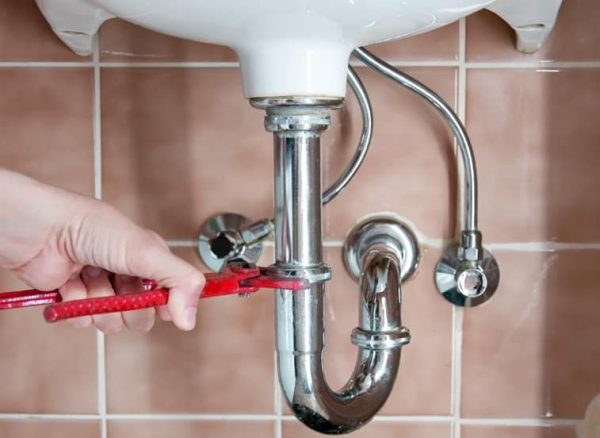
A drain pipe is a metal or plastic tube that carries water and waste away from a bathtub, sink, or shower. When the pipe is clogged with hair, soap suds, or other debris, it can cause flooding or a leak. To replace a drain pipe under a bathtub, start by removing the old one. If the pipe is metal, use a wrench to unscrew the fitting. If the pipe is plastic, use a plunger to remove the clog. Pour a pot of boiling water down the drain to clear out any debris. Screw the fitting back on and tighten using a wrench. Pour a pot of cold water down the drain to test for leaks. If there are no leaks, you can plumber in the new drain pipe. Get info about elephant decor.
Reasons for replacing a drain pipe under the bathtub
There are a few reasons why it may be time to replace a drain pipe under the bathtub. If the pipe has been damaged by age, Professionals often recommend replacing it as soon as possible to avoid future problems. Additionally, if water is continuously draining out of the pipe regardless of how much you tamp or plug the drain, you may have a clog on the pipes extending from the foundation of your home. A professional should be able to determine if this is the case and if so, will be able to provide a solution. Look at the ceiling decorations.
How to replace a drain pipe under the bathtub
Replacing a drain pipe under the bathtub can be a difficult task, but it’s one that needs to be done if it’s not functional. Here are some tips to help make the process easier:
1. Clear away any debris around the area where the pipe is located. This will help you see the pipe more clearly and make the job easier.
2. Use a diagram to identify where the pipe is located. If you can’t find a diagram, use a camera or phone to snap a picture of the area and use that as your reference.
3. Use a snake or auger to clear out any obstructions in the pipe. Make sure to use caution when doing this, as snakes may be nearby and could bite you. If there are any large objects in the way, get help from someone else to remove them.
4. Start by removing the old drain pipe using a wrench or pliers. Be careful not to damage the new pipe while you’re doing this.
5. thread the new drainpipe on top of the old one using an Allen wrench or socket wrench. Tighten it until it’s snug, but don’t overdo it. You may need to adjust the position of the new pipe to make sure it’s positioned properly.
6. Seal off any holes and tight ends in the pipe with caulk or pipe tape. Use a hose to wipe off any extra caulk, should you be required to use it.
7. Turn on your sink, allow some water to flow through and check for leaks or air in-between parts of the pipe. If you’re able to flush something down the drain, then you know for sure that the new pipe is working properly and your plumbing problem has been solved! Find out germinating seeds in paper towel.
Design and Installation of a new tub or shower
If your drain pipe under the tub is cracked or leaking, it’s time to replace it. There are a few different ways to go about this, and each has its own advantages and disadvantages. Here’s a look at each option:
1. Replace the entire drain pipe: This is the most expensive option, but it may be the best overall solution. If the pipe is cracked all the way through, replacing it will be the only way to keep water from pouring into the tub and flooding your home. On the other hand, if just part of the pipe is cracked, replacing just that section may fix the problem. Replacing the entire pipe can be done by yourself if you have basic plumbing knowledge and a few tools, or by a professional contractor.
2. Repair the existing drain pipe: This option is cheaper than replacing the whole pipe, but it won’t fix any problems that may exist if part of the pipe is already broken. If you decide to go this route, your contractor will likely need to use a crescent wrench to remove old caulk and make repairs. They’ll then re-caulk everything and install a new sealant around the pipe. This approach is usually more affordable than replacing the whole pipe or buying a new sink.
3. Install a new drain pipe: The third option is to replace the entire pipe, which can be pricey and time-consuming but can solve problems with leaks and flood damage that have plagued your home for years. Discover diy concrete pool.
Conclusion
Be sure to read through all of the instructions before beginning so that you have a clear understanding of what needs to be done, and make sure to take pictures along the way so that you can remember exactly where everything went. Have fun replacing your drain pipe!